Friday, October 19, 2007
Walls and trusses
Saturday the 13th Frugaldad and his brother and their buddy from work tipped up the walls.

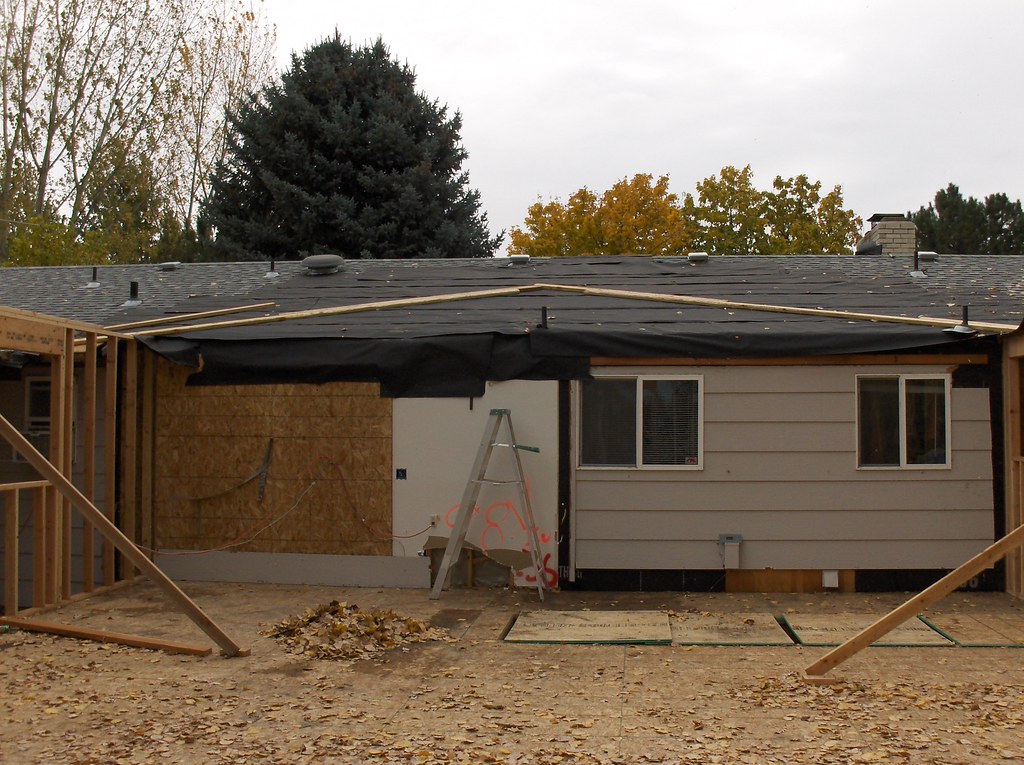
Later that day, Frugaldad removed the rest of the roof from the "subtraction."
The finished walls
Monday the 15th he took off all the shingles where the roof trusses would need to go. Then he took off all the eaves and soffits. But rain was in the forecast so he tar-papered the roof. Then I put some 2x4s up to try and divert the rain away from the places with no eaves.
Wednesday the 17th we got a Dumspter and put all the debris in it with the aid of the tractor bucket.
The day dawned bright and clear dark and rainy but work must go on. This is what they call "flying in the trusses."
The trusses went up amazingly fast. I was making muffins in the kitchen and in the time I was turned around filling the muffin tins, about half of them went up. This is the view from on the roof.
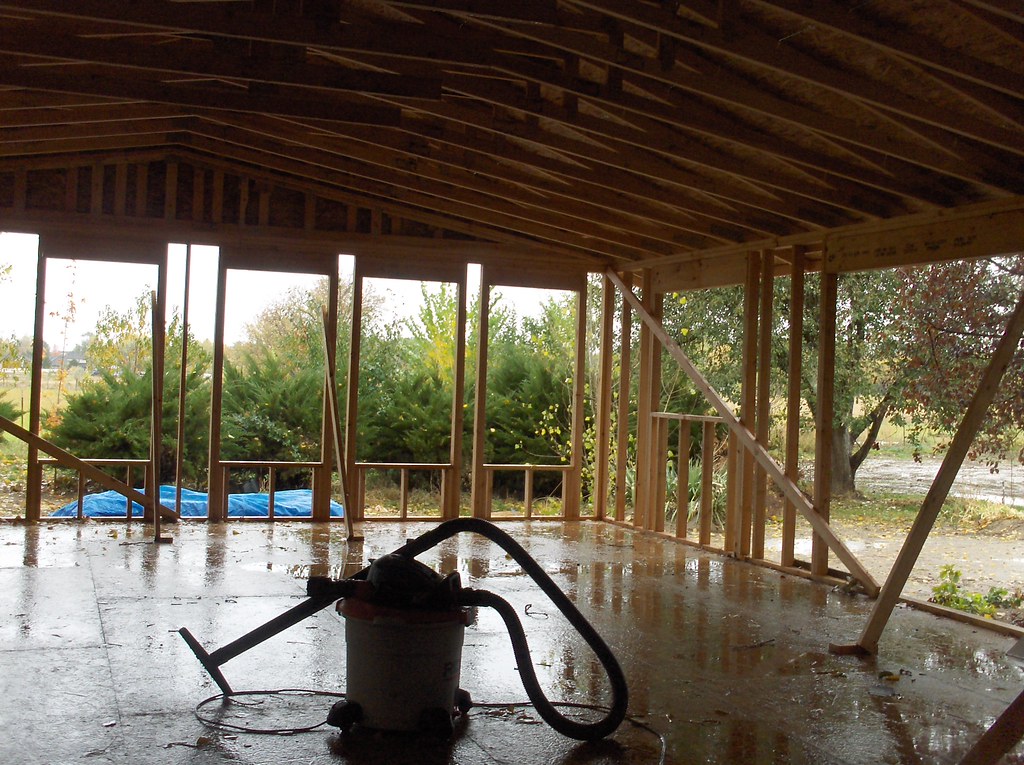
From inside the addition sans the decking.
From my kitchen window. It rained the whole darn day and until we put tarps over the roof, it rained inside, too. As soon as the rain quits, we'll roll out the tar paper.
Friday, October 12, 2007
Updates
Before we could set the rest of the floor joists, we decided that the "shelf" next to the house that caused all the trouble with the compaction should be filled in with concrete to make a good storage place in the basement. Frugaldad decided this was a good time to practice laying concrete so he brought home a new toy.

He set forms to do about half at a time. The first day he did 4 blocks and the second day he did 3 blocks.

It was raining but it needed to be done anyway so we could finish the floor. So we made a tent.


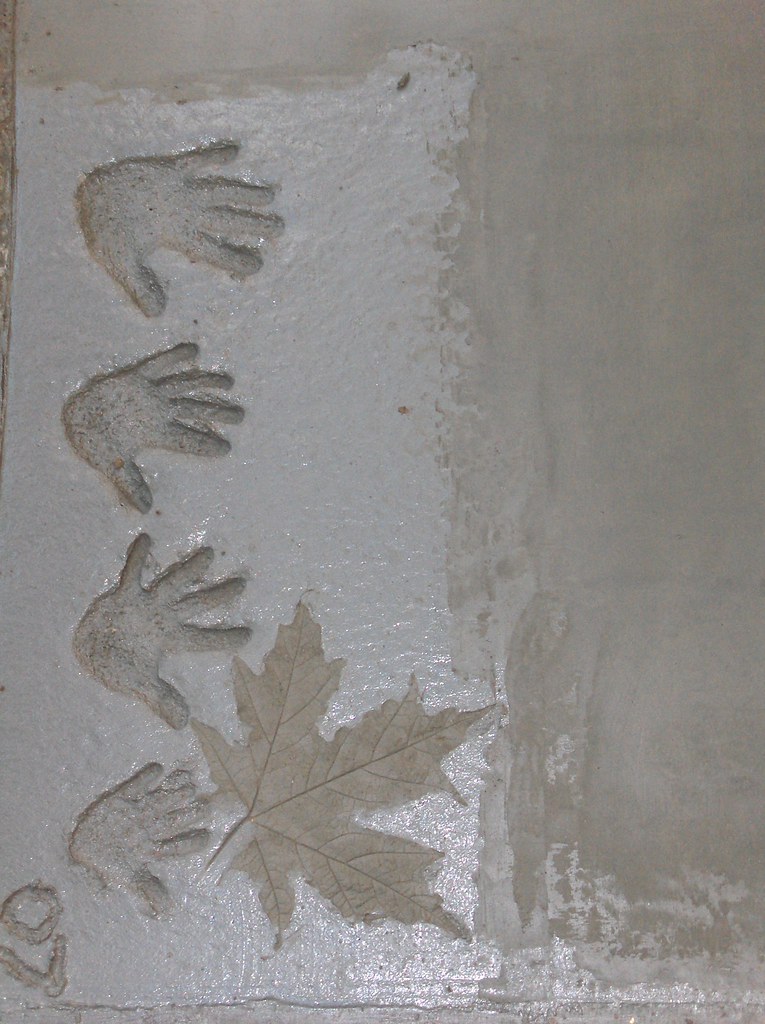
The kids' handprints and a print of a huge maple leaf.
Then we could set the rest of the joists in place, and deck the rest of the floor. We put some extra OSB over the stair opening so nobody would fall through by accident. The stairs won't get built until the roof is on to keep them from getting wet.

Before Frugaldad left for Singapore on a business trip he started framing the exterior walls.

Now the exterior walls are all framed with window openings and the trusses are ordered and will be delivered next week. We decided to have the truss company install them and deck the roof because the weather has been so rainy! They can get it done in less than a day.
He set forms to do about half at a time. The first day he did 4 blocks and the second day he did 3 blocks.
It was raining but it needed to be done anyway so we could finish the floor. So we made a tent.
The kids' handprints and a print of a huge maple leaf.
Now the exterior walls are all framed with window openings and the trusses are ordered and will be delivered next week. We decided to have the truss company install them and deck the roof because the weather has been so rainy! They can get it done in less than a day.
Wednesday, October 3, 2007
Wednesday, September 19, 2007
The rest of the story
After the slab was poured, we started getting lumber delivered as we needed it. We have a local Ace hardware that delivers for free and they are giving us a contractor's discount. It is much nicer than trekking to Home Depot or Lowes every time we need lumber. The first lumber delivery was the sill plates and the lumber for the load bearing wall in the basement.

Of course, it RAINED the afternoon of the first lumber delivery. Plus it's been raining the last couple days and it's still in the forecast. I'm all for ending the drought, but can't it wait until we have a roof and some house wrap?

The load bearing wall will support the floor joists for the first floor. We decided to do a load bearing wall, rather than span the entire width of the addition (28 feet) because the joists would have had to be 18 or 20 inches tall instead of 9 1/2 inches. That would have meant we would have had to dig deeper or have shorter ceilings, because the floor of the existing house and the floor of the addition WILL LINE UP. It was a step down into the "subtraction" and that was annoying and slightly dangerous for babies and the elderly.
The kids helped install the sill plates by putting the washers and nuts on the j-bolts.


The sill plates all installed.

Then Frugaldad started building the wall. He built it in two pieces. This guy is amazing! I can't believe he knows all this stuff. He knows how to build a house, write amazing software, work on cars, you name it.

Second half

Two pieces put together

Then in the midst of the wall-building, we had some plumbers come out to give us bids for the rough plumbing of the bathroom in the addition, and also some HVAC guys come because we'll need a new air conditioner and furnace and ductwork in the addition. We had a concrete cutting company come and cut a big hole for the ducts. Frugaldad spent a couple nights framing the opening to support the joists. And he dug out under the foundation so we can run plumbing to the septic tank. We're doing this stuff now while the access is good, before we cover up that area with a floor.

The piece of pipe is just for size reference

You've seen what the wall looked like when it was finished and the rim joists were installed. Next came floor joists.
About half of them set into place but not fastened.

We are glad to support a local business.

All the joists in place, looking up from below. It was really cool to be in the basement under the joists. The ceilings are the highest in the house, which was built in the energy-efficient 1970s. When the floor and ceilings are finished they will be around 8 feet high.

Monday night we got almost all of the floor decking installed. It's been rainy so I don't have a good picture yet. Check back soon!
Of course, it RAINED the afternoon of the first lumber delivery. Plus it's been raining the last couple days and it's still in the forecast. I'm all for ending the drought, but can't it wait until we have a roof and some house wrap?
The load bearing wall will support the floor joists for the first floor. We decided to do a load bearing wall, rather than span the entire width of the addition (28 feet) because the joists would have had to be 18 or 20 inches tall instead of 9 1/2 inches. That would have meant we would have had to dig deeper or have shorter ceilings, because the floor of the existing house and the floor of the addition WILL LINE UP. It was a step down into the "subtraction" and that was annoying and slightly dangerous for babies and the elderly.
The kids helped install the sill plates by putting the washers and nuts on the j-bolts.
The sill plates all installed.
Then Frugaldad started building the wall. He built it in two pieces. This guy is amazing! I can't believe he knows all this stuff. He knows how to build a house, write amazing software, work on cars, you name it.
Second half
Two pieces put together
Then in the midst of the wall-building, we had some plumbers come out to give us bids for the rough plumbing of the bathroom in the addition, and also some HVAC guys come because we'll need a new air conditioner and furnace and ductwork in the addition. We had a concrete cutting company come and cut a big hole for the ducts. Frugaldad spent a couple nights framing the opening to support the joists. And he dug out under the foundation so we can run plumbing to the septic tank. We're doing this stuff now while the access is good, before we cover up that area with a floor.
The piece of pipe is just for size reference
You've seen what the wall looked like when it was finished and the rim joists were installed. Next came floor joists.
About half of them set into place but not fastened.
We are glad to support a local business.
All the joists in place, looking up from below. It was really cool to be in the basement under the joists. The ceilings are the highest in the house, which was built in the energy-efficient 1970s. When the floor and ceilings are finished they will be around 8 feet high.
Monday night we got almost all of the floor decking installed. It's been rainy so I don't have a good picture yet. Check back soon!
Sunday, September 16, 2007
A weekend's work
I'll fill in the details soon, but for those of you who just can't wait, I took this picture a couple minutes ago. Frugaldad and Frugalboy finished in the dark last night after a 12-hour day.

And for the record, this is what it looked like on Saturday morning. The rim joists were installed the day before.
Hey! I thought this was a frugal renovation blog!
I'm sure you're starting to wonder--if you are going to save so much money by doing this addition yourself, how come all you've done so far is hire people?
A valid question, my friend.
The work that has been done so far has been the stuff we couldn't do ourselves because of the complexity. We don't have a backhoe, nor the skills to drive one, for excavation, and while we probably could have called in the concrete pumper truck ourselves, we don't own concrete forms for walls and such.
From here on out, most of the work will be done by Frugaldad with assistance from me and Frugalboy, who, at not quite 9 years old, has already proven himself worthy of pounding nails and moving sheets of plywood. The girls are quite adept at fetching water for the workers.
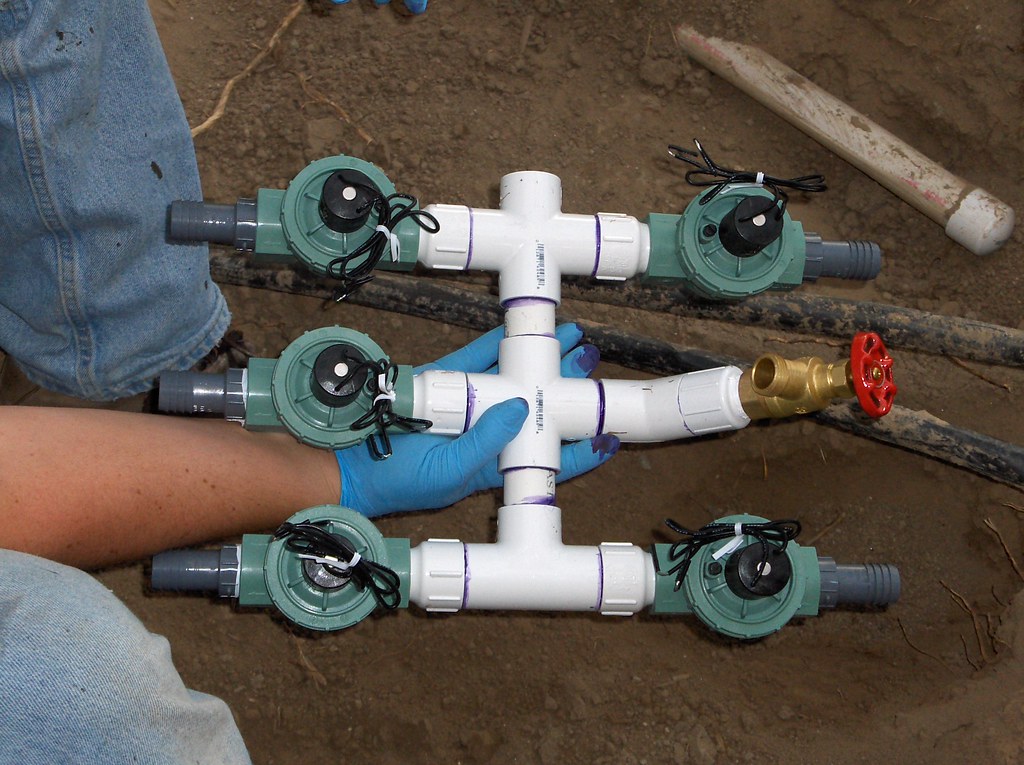
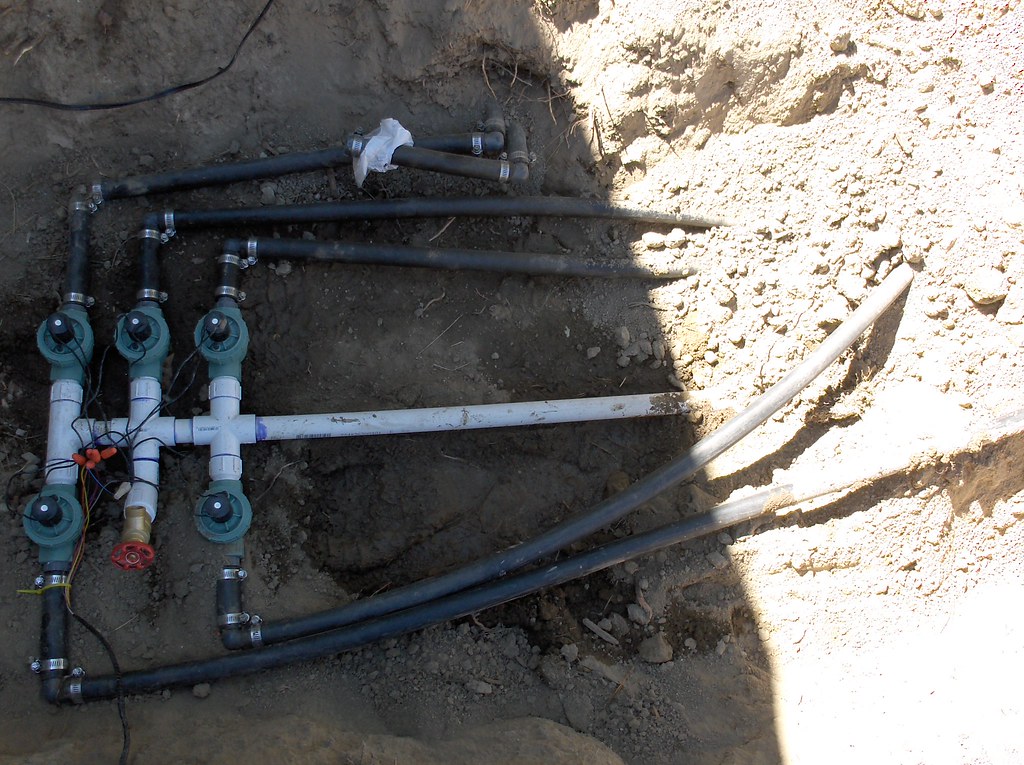
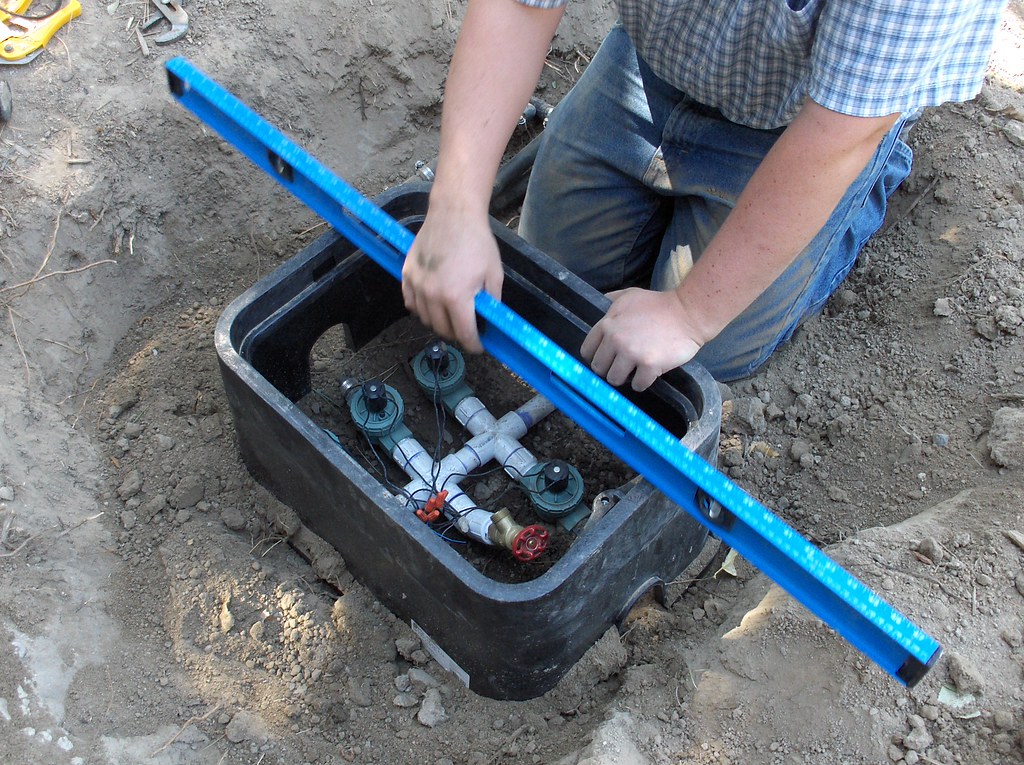
When we had the hole dug, we had to take out the valves for the backyard sprinkler zones. Once everything was all backfilled, Frugaldad rebuilt the sprinkler valve box. If he would have purchased a ready-made manifold, it would have cost about $40, plus it wouldn't have fit into the largest access box that they make. Instead, he went to the plumbing aisle and spent less that $10 on bits and pieces and built a custom manifold for the 5 sprinkler zones and a hose bib.

We were able to locate all the pipe for the zones, it was just a matter of reconnecting them to the new manifold and valves.

A valid question, my friend.
The work that has been done so far has been the stuff we couldn't do ourselves because of the complexity. We don't have a backhoe, nor the skills to drive one, for excavation, and while we probably could have called in the concrete pumper truck ourselves, we don't own concrete forms for walls and such.
From here on out, most of the work will be done by Frugaldad with assistance from me and Frugalboy, who, at not quite 9 years old, has already proven himself worthy of pounding nails and moving sheets of plywood. The girls are quite adept at fetching water for the workers.
When we had the hole dug, we had to take out the valves for the backyard sprinkler zones. Once everything was all backfilled, Frugaldad rebuilt the sprinkler valve box. If he would have purchased a ready-made manifold, it would have cost about $40, plus it wouldn't have fit into the largest access box that they make. Instead, he went to the plumbing aisle and spent less that $10 on bits and pieces and built a custom manifold for the 5 sprinkler zones and a hose bib.
We were able to locate all the pipe for the zones, it was just a matter of reconnecting them to the new manifold and valves.
Sunday, August 26, 2007
Backfilling
Before we backfilled, Frugaldad painted tar on the outside of all the walls. What a hunk!
For about half a day we had both crews, concrete and excavation, working at the same time. our excavation contractor was really anxious to get the house supported by dirt again.
Starting to fill in the hole

There had to be a way to smooth out the basement floor, and backfill the void between the house and the addition.


May I present The Flying Skidsteer!


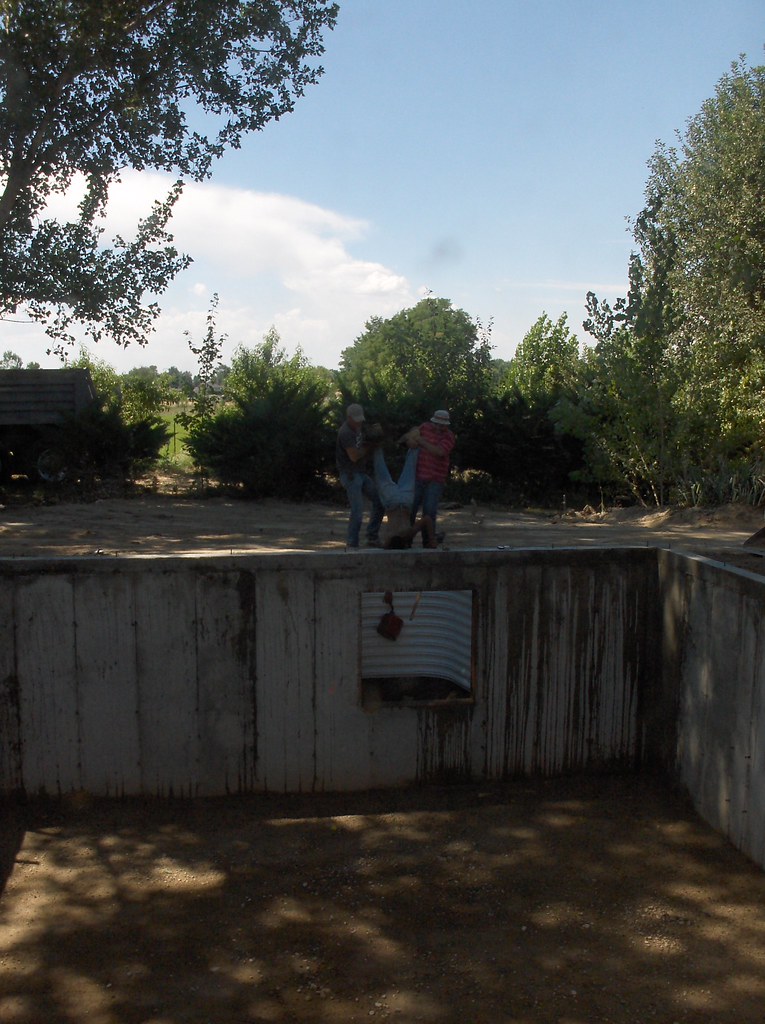
Jose dropped the gas can and a shovel in the window well, so he and Greg lifted Miguel by the legs and retrieved the stuff.
Subscribe to:
Posts (Atom)